Build a relatively powerful gaming PC
diyMy current desktop PC, an HP envy pre-built featured with Intel i7-4090K and Nvidia GTX 960, shows its age. I considered to build a new PC from scratch since the pre-build manufacturer tended to use proprietary motherboard and PSUs to cut corners. DIY should give you more flexibility and extensibility, though overchoice could be a burden.
Objectives
I want to build a relatively powerful gaming PC under 1500 USD budget for following usages:
- Obviously, gaming. A more modern graphics card is needed to play AAA game titles such as Red Dead Redemption 2.
- Development environment for rust, Unreal Engine, Deep Learning etc. to explore new territories.
- Maybe video editing, If I would pursue a side hassle as a Youtuber.
We are in the intersection for the next generation computing. AMD launches Ryzen 9 with brand new AM5 platform and drops DDR4 support. Intel fights back with Raptor Lake, the last generation CPU based on LGA 1700 platform. Nvidia hyped the RTX 4000 GPU with significant performance boost, power consumption and hefty price tag. AMD introduces 6900 series to compete for high-end but price cautious players.
Also, the crypto currencies are in the death spiral, compounded with Ethereum migrated from proof of work to proof of stake, thousands graphics cards were retried from the mining facility and flooded the market.
It is probably the best of time, or worst of the time to build a new PC.
Decision, Decision
The $1500 bucket can be further broke down:
- CPU + Motherboard: $600
- Video adapter: $500
- RAM: $100
- Storage (SSD M2): $100
- Case + PSU: $150
- CPU cooler: $100
The Ryzen 9 was the first ruled out. The Raptor Lake has better performance price ratio with more affordable Z690 and B660 motherboard and DDR4 memory. The upgradability is over indexed in my opinion due to the accelerate depreciation of cutting-edge technology. If I were close to Microcenter, I would grab the 12600K bundle. Otherwise, I think i5 13600K is a sweet spot for performance and affordability.
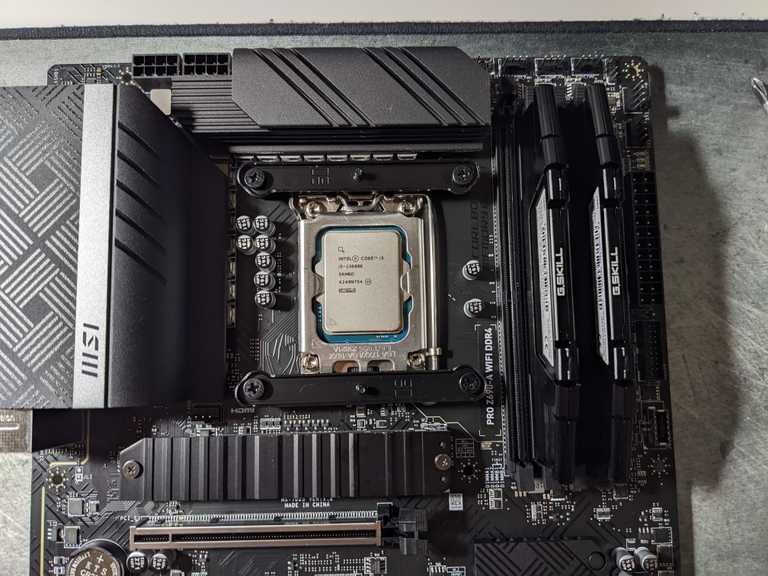
Next, the motherboard. I just picked a mid-tier motherboard on sale, such as MSI Pro Z690-A DDR4 as I have no plan to overclock. It is a b-tier board according to this spreadsheet with good VRMs and mediocre audio codec. It is OK for me since my setup will process the the digital audio signal carried by HDMI or DisplayPort with other interface. More importantly, the board supports Quick Flash to upgrade the BIOS without 12th-gen CPU presence.
I was torn between Radeon 6700xt and RTX 3070. The 6700XT’s 12GB DDR6 might be more future proof for 4k gaming, while 3070 has more computing power and supports CUDA. I ended up grab a second-hand EVGA 3070 XC3 local for $380.
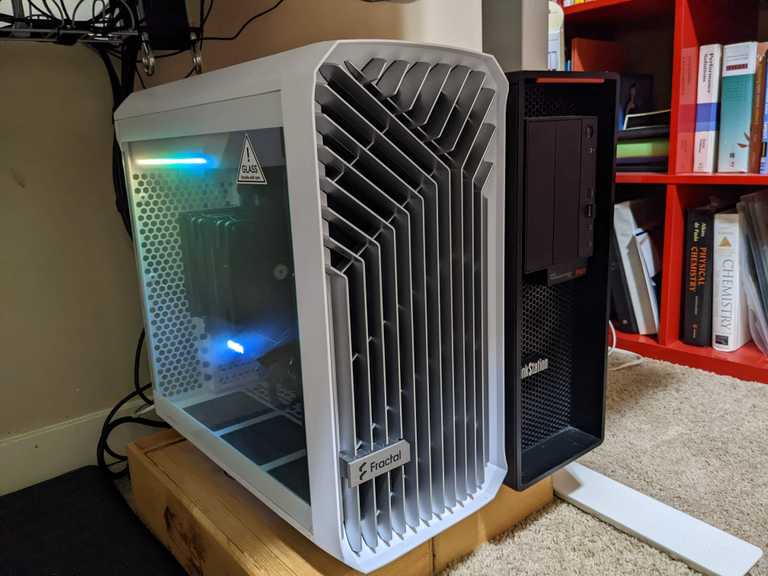
I really like the Fractal Design Torrent Compact: the case is beautiful designed, and the two 180mm front fans with bottom intake provide nice airflow to cool down the system. But it also limits our cooling options: the lack of exhaust fans in the top make it inefficient to host an AIO water cooler. I chose the Thermaliright Peerless Aassassin 120 for its capability to handle 240W TDP.
I pulled the trigger before Thanksgiving, and finally got all the components delivered from Amazon and Newegg on early December. Time to build.
Build log
Here are everything, Coco not included. 😊
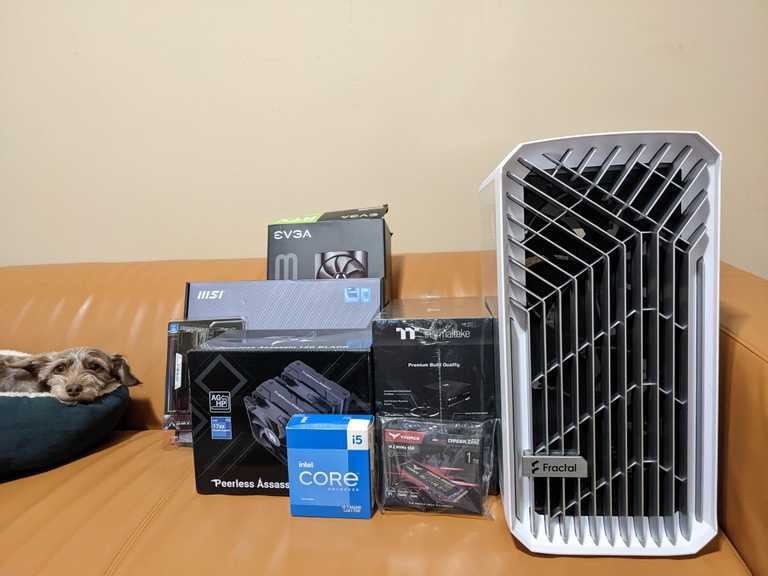
| Type | Item | Price |
|---|---|---|
| CPU | Intel Core i5-13600K 3.5 GHz 14-Core Processor | $319.99 |
| CPU Cooler | Thermalright Peerless Assassin 120 Black 66.17 CFM CPU Cooler | $46.89 |
| Motherboard | MSI PRO Z690-A DDR4 ATX LGA1700 Motherboard | $167.99 |
| Memory | Crucial Ballistix 3200 MHz DDR4 DRAM | $89.99 |
| Storage | TEAMGROUP Cardea Zero Z440 Graphene 1 TB M.2-2280 PCIe 4.0 X4 NVME Solid State Drive | $82.99 |
| Storage | Intel 670p 1 TB M.2-2280 PCIe 3.0 X4 NVME Solid State Drive | $54.99 |
| Video Card | EVGA XC3 ULTRA GAMING GeForce RTX 3070 8 GB Video Card | $380.00 |
| Case | Fractal Design Torrent Compact ATX Mid Tower Case | $119.00 |
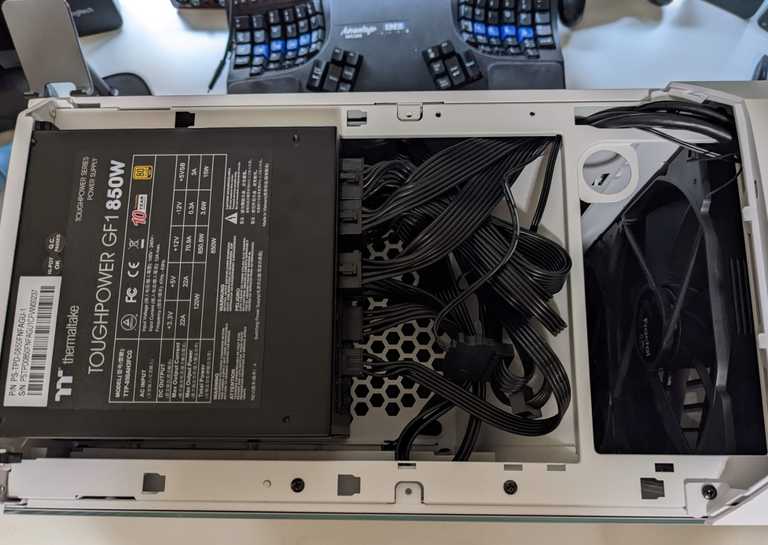
| Power Supply | Thermaltake Toughpower GF1 PE 850 W 80+ Gold Certified Fully Modular ATX Power Supply | $104.99 |
| Total | $1366.83 |
Mounted the CPU with 1700 LGA bracket, then installed the RAM on slot 2 and 4.
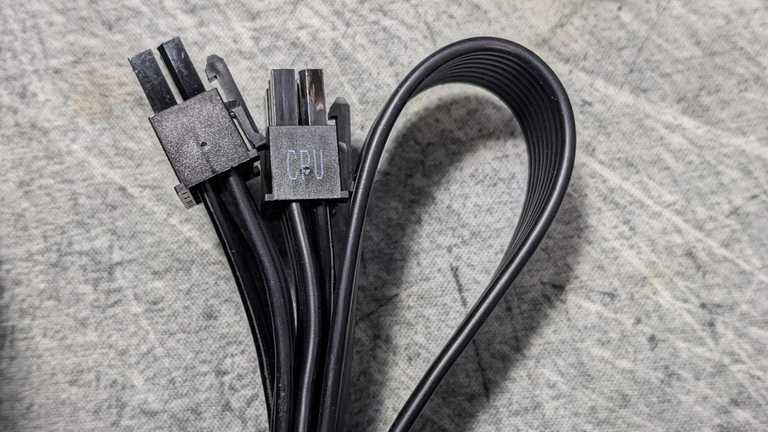
The Toughpower GF1 850W marks the cable with its usage, thank you!
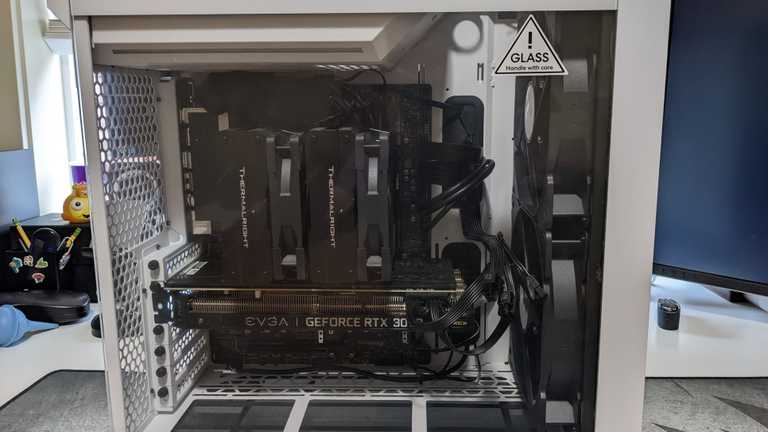
The power cables are quite stiff, and the folded cables left no room to install 3.5” disk. The other side of case was quite tight. It took almost an hour to entangle and organize the cables.
The PCI/E cables were short, the extra connectors stuck out. I decided to let it go for the time being.
Power on, and it just worked, pretty amazing!
Troubleshooting
After the machine successfully booted, I was relieved that no fatal mistakes were made. The BIOS was up to date and I did not need to flash the BIOS without in the dark. 😅
BIOS update and enable XMP
I downloaded the latest BIOS and Intel ME from MSI website, flashed the BIOS with M-Flash utility in the BIOS. Then I enabled XMP to configure the RAM running in 3600 MHz. Pretty straightforward.
Excessive Noise
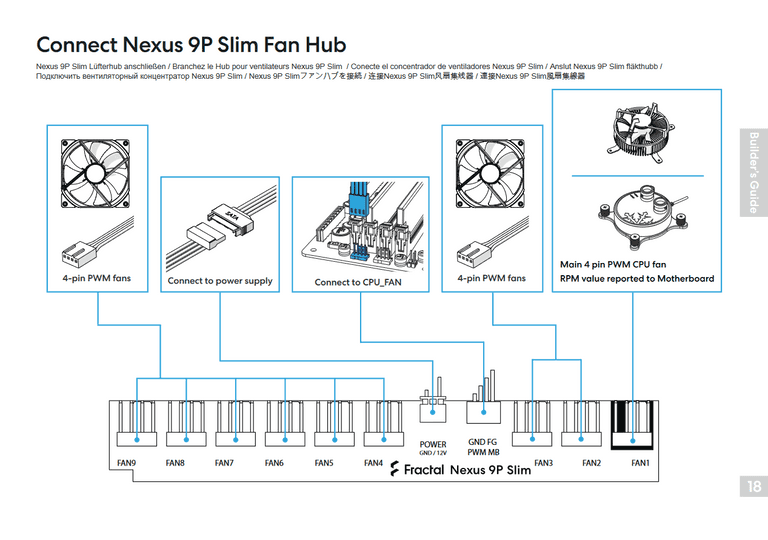
The machine was quite noisy even when idling. I suspected the front fans were
misconfigured and ran full speed. The Torrent Compact User Guide
suggested to connect PWM MB to CPU_FAN, and the FAN1 connects to CPU cooler.
However, the CPU cooler’s cable is not long enough to reach FAN1, I had to
connect the CPU cooler to CPU_FAN, and connect the PWM MB to AIO_FAN, and
leaves FAN1 disconnected.
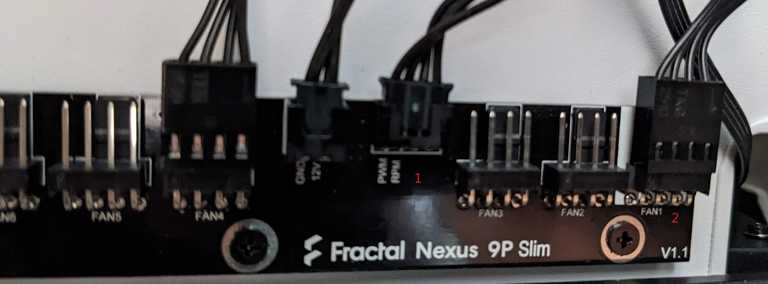
With some digging on motherboard manual, and Torrent FAQ, I figure it out the Nexus 9P Slim hub is NOT a PWM controller, it only broadcasts the PWM control signal from PWM MB, see #1 below, to all fans, and use FAN1 for the feedback loop, see #2 below.
I configured the the SYS_FAN1 to PWM mode in the BIOS for #1’s input,
then connect FAN1 to one of front fans to complete the loop.
After the tuning, the machine runs really quiet and cool.
| Benchmark | CPU usage | CPU temp | CPU fans | GPU usage | GPU temp | GPU fans | Sys fans |
|---|---|---|---|---|---|---|---|
| Cinebench R32 Multi Core | 100% | 69 C | 773 RPM | 0% | 39 C | 0 RPM | 794 RPM |
| Heaven Benchmark 4.0 Extreme | 6% | 47 C | 445 RPM | 99% | 62 C | 1400 RPM | 800 RPM |
Closing thoughts
- I got the ATX board in the hope to install spinning disks for cold storage in the future, but there is no room to install 3.5” HD in the torrent compact case.
- I might overprovision the PSU with 850W, I think 750W or even 650W should suffice.
- It is wise to opt-in the mid-range CPU and GPU, which simplifies the thermal cooling a lot. No extra exhaust fans are needed based on the benchmark results.
Overall, it was a joyful build. Hope this rig lasts 5 to 6 years until the next build.
Credits
Great thanks to Optimum Tech’s How to Build a Powerful Gaming PC guide.
