Bowflex Xtreme SE Assemble Notes
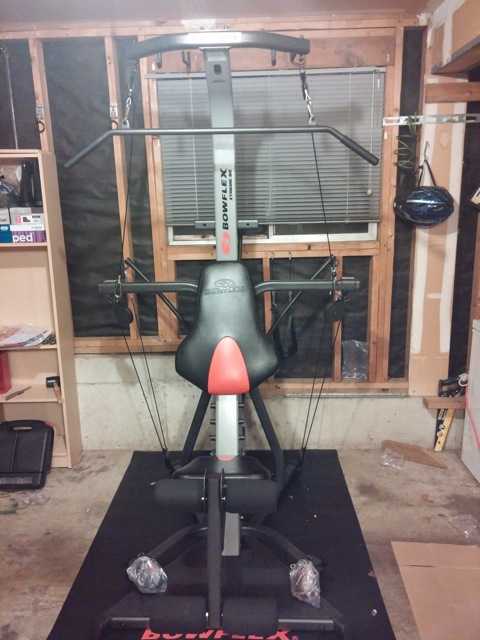
diyIt took me two hours to assemble the Bowflex Xtreme SE, no wonder the assemble service may cost you $200.
Here are the tools required for the assembly:
- assembly manual
- 3/16” Allen Wrench(included)
- 7/32” Allen Wrench(included)
- scissor
- wrench x 2
- power tool, optional, but highly recommend
You need two wrenches to fasten the Nylock nut in Step 7 Secure Pulley Arms.
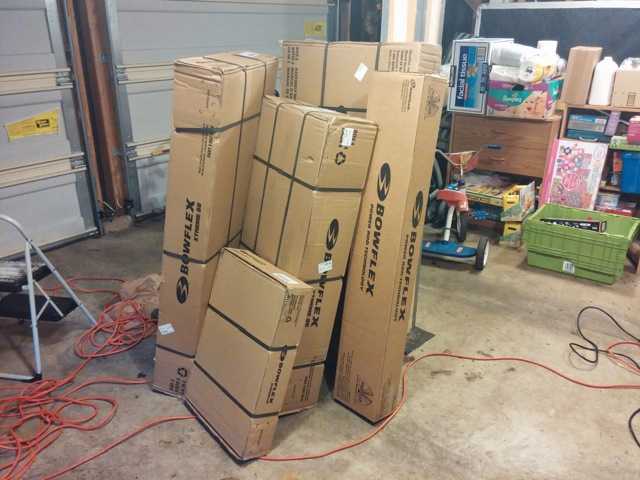
The parts are packed in 5 boxes marked as Box 1 to Box 4, and leg extension. They are organized for packaging, not for the installation though.
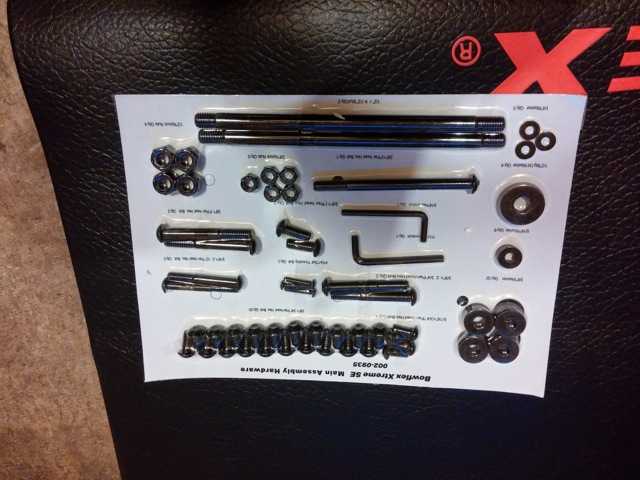
First, I had to open box 4 to get the hardwares, the nuts, screws, washers:
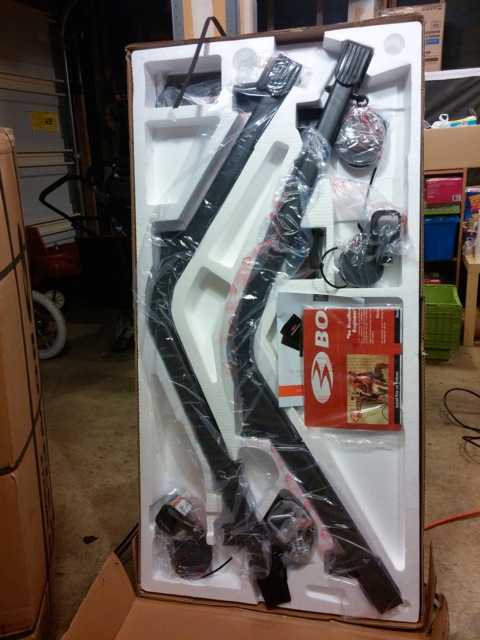
Then I opened the box 2 to get the base rails
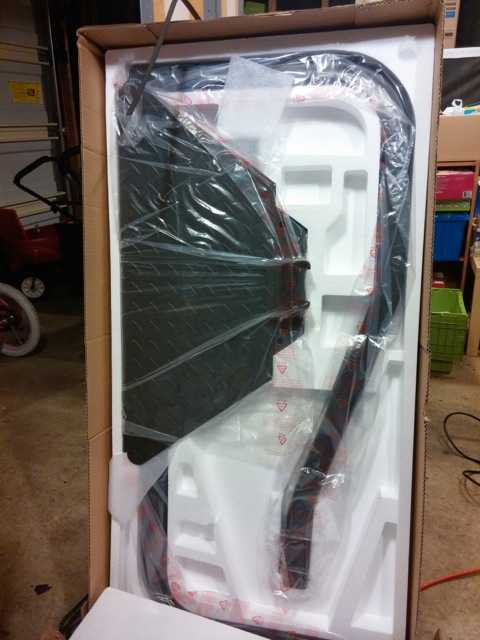
and base frame which sat in the bottom lever of box 2:
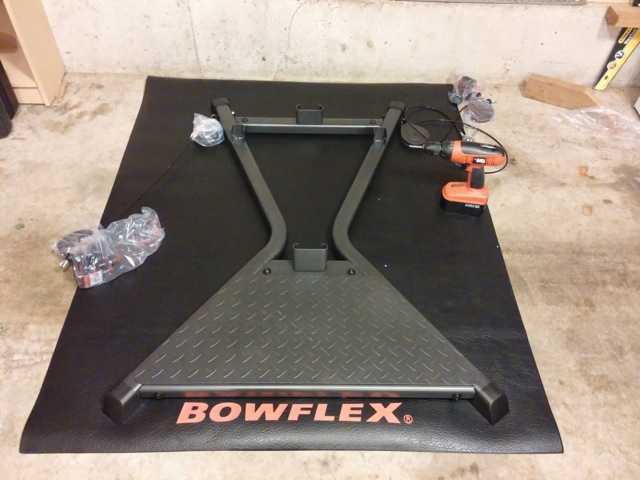
Step 1 Base Frame Assembly, ta-da.
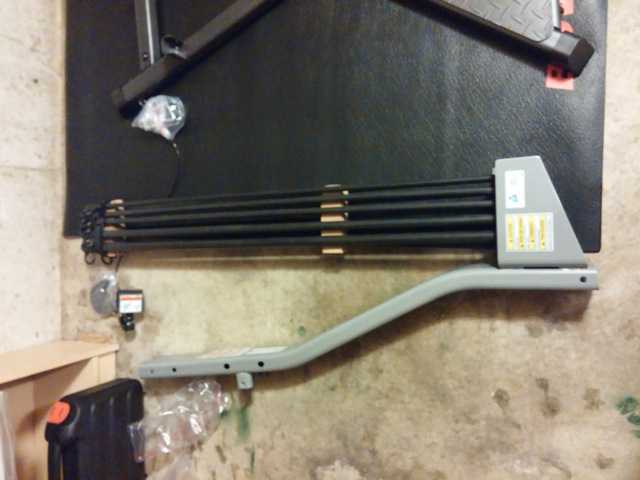
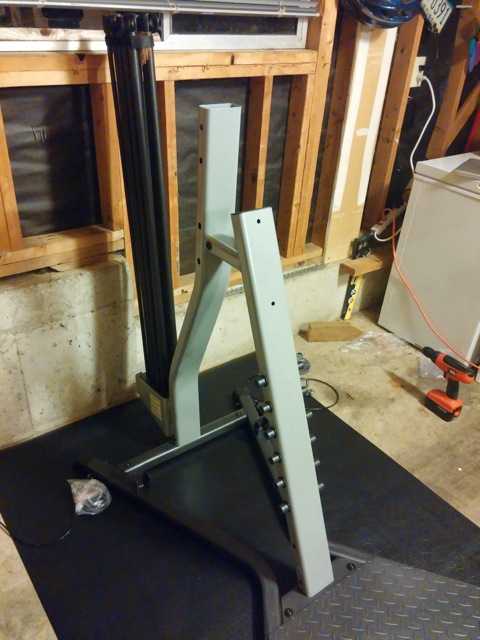
In Step 2 Lower Lat Tower Assembly, the lower lat tower frame is located in the box 3, and the rod box is located in box 1. By the way, if you have the power rod upgrade, it is time to install them now. Be aware the sliding direction of the rod box, if you cannot get three spots for the screws, try reverse the rod box.
Both the seat support rail used in Step 4 Install Seat Support Rail, and the squat pulley frame in Step 5 Install Squat Pulley Frame can be found in box 4.
DO NOT INSTALL PULLEY ARMS UNTIL STEP 16, no other parts depend on the pulley arms, and if the pulley arms are installed and secured, you may have a hard time to install Ab Bracket in step 16, at least I did.
So you may skip step 6 to step 8 for now. The seat bottom and backbone can be found in box 4, the leg extension parts are in leg extension box, obviously.
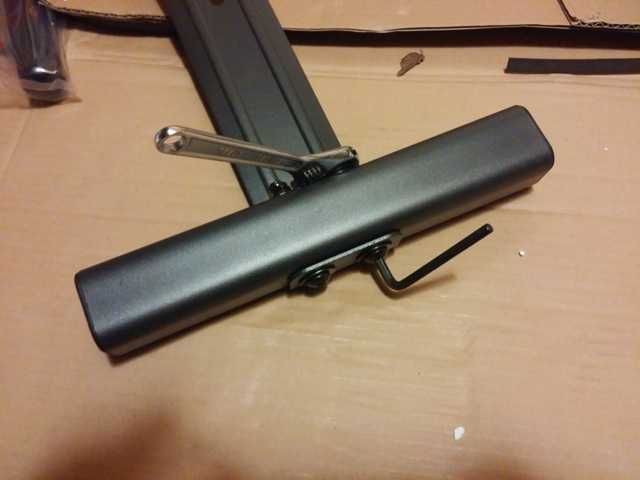
In Step 15 Ab Bracket Assembly, just use the wrenches and all you mighty to fasten the Nylock nuts as shown below:
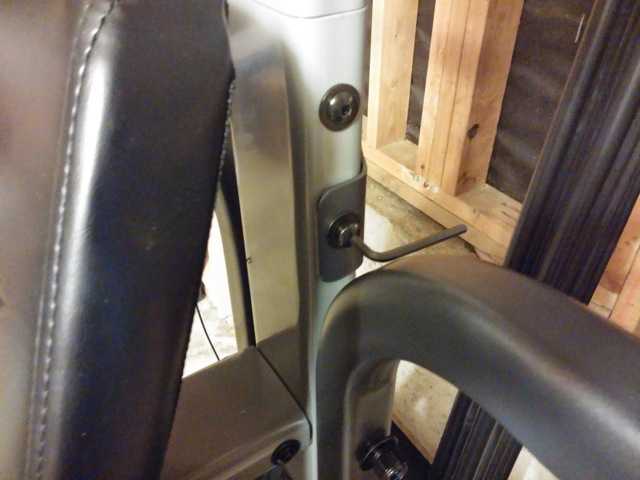
In Step 16, mounting the ab bracket could be quite challenging if the pulley arms are installed earlier, there are not too much wiggly room for the tool, see below.
Now, let’s go back to step 6 to step 8 to secure the pulley arms. At the end, hook the cable with the connectors for your desired exercises.
Happy work out.
