Migrate to netlify
netlifydiyI had been running a few static sites(here, here, and there) in a VPS with an affordable CDN service to strive a high performance score. It worked pretty well until the network outages hit my VPS provider hard. During the emergency, I had to spawn a VM from Azure, provision, and configure the VM to a pre-defined state(with automation of course), redeploy the contents and updated the DNS record pointing to the new endpoints. I then asked myself, is it worthy the hassle to maintain a VM for such simple functionalities?
In late December 2016, my KeyCDN’s credit was about to expire. The minimum amount to renew is $50.00, — an amount will take more than 20 years to consume based on the current burning rate. It was the time to pull the trigger.
What do we want
Clearly, the High Availability(HA) to cut the operation cost. In the retrospect why we pick VPS over traditional shared hosting, we also want:
- Branding the hosting MUST support custom domain to build up our own branding.
- Performance the hosting MUST support HTTP2, HTTPS and serve the content with CDN network.
- Low cost the budget is no higher than $25.00 annually.
What we can get
For a private repository, — even though all the contents are in the public domain, I still prefer to keep the source to myself, — one popular solution is to host the static site with AWS. The content is stored in s3, and served by cloudfront. The DNS must be resolved by route53 if you want to use the apex domain (example.com), or redirect it to the canonical domain(www.example.com). It seemed still too complicated.
Besides self-hosting, there are a few hosting service dedicated for the static content, such as Surge, and netlify. They differentiate themselves from the traditional shared hosting by serving the content in the high available CDN services.
The Surge is created by the front end community, and for the community, for example, 200 page for client-side routing. The netlify on the contrary, tries to solve this problem from the continuous integration(CI) perspective, — the content is automatically pulled, compiled, and published when the repository change webhooks are triggered.
I eventually settled on the netlify for its richer features in the basic plan:
- custom SSL, and one-click to deploy Let’s Encrypt SSL with auto-renew
- forcing HTTP to HTTPS
- custom redirects
Furthermore, I really enjoy the preview build triggered by the pull request. It allows me to stage a change in a temporary netlify sub-domain, and share with stakeholders for approval before pushing it live.
Migrate to netlify
The migration to netlify is quite straightforward.
Click the ADD A NEW PROJECT in the console, then pick the source code repository. It currently only supports github, bitbucket, and gitlab.
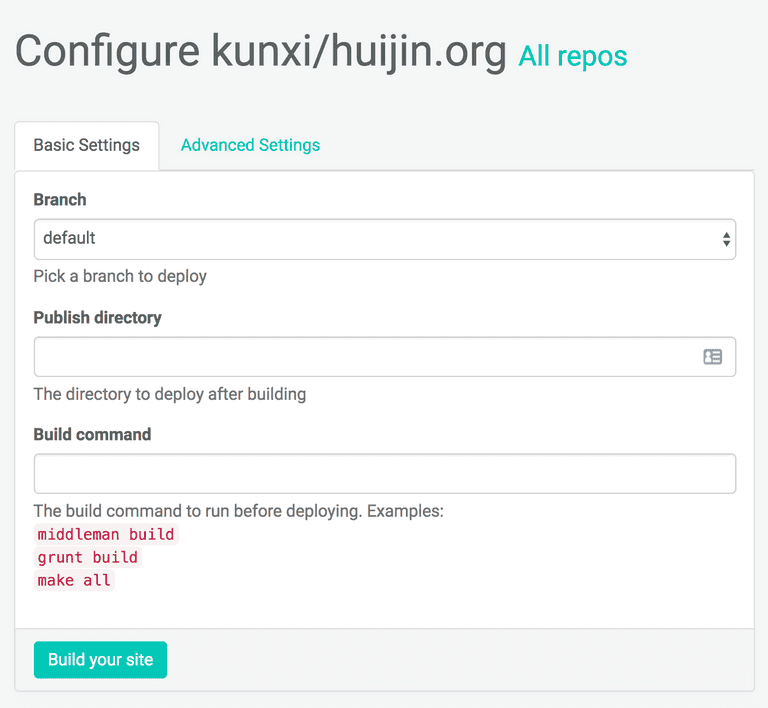
Fill the form with:
- Branch: the branch netlify should pull the code, usually master in git and default in merurial.
- Publish directory: where the compiled code residents.
- Build command: your magic command to build the static site.
The first time ‘Build your site’ will assign a random host name for your site,
such as grave-digger-growth-18751, and the site is deployed to
grave-digger-growth-18751.netlify.com.
You may update it to a unique host name, example for example, and update your
DNS record accordingly, see
Using a custom domain for more
details.
The succeeding push on the branch specified in the project configuration will trigger a automatic build and publish.

